- Business Strategies
The Right Way to Manage Multiple Locations on Google My Business
Own a multi-location business? Here’s how to grow traffic and get more customers.
In 2024, over 8.5 billion Google searches are made every single day. Google My Business (GMB) helps you tap into that traffic by aggregating all of your brand’s important information in one place. It’s essentially an online directory that allows you to market your business to customers who are actively on the hunt for a product or service like yours. For this reason, it’s important to not only set up a Google My Business profile, but keep it up to date.
Many multi-location businesses opt not to leverage GMB as a marketing tool, largely because there can be confusion around claiming and optimising listings for multiple sites. Sadly, that also means they miss out on an additional stream of traffic to their stores. The simple solution is to create a business group.
What is a GMB business group?
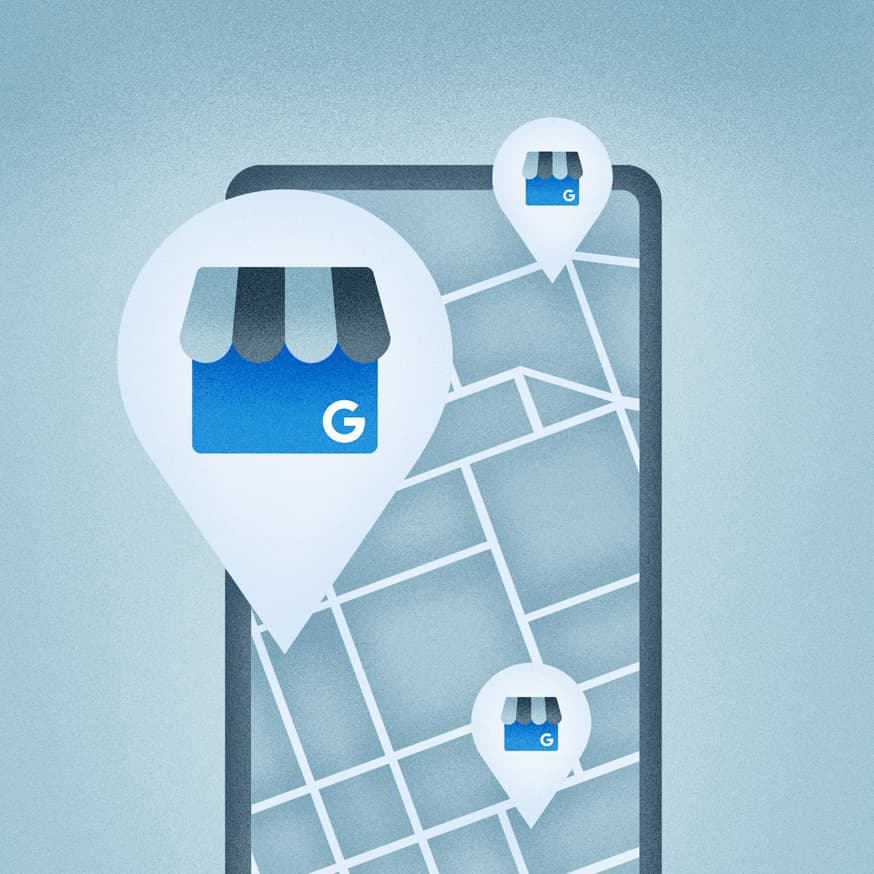
A business group is a collection of GMB profiles managed by the one organisation. Having a business group makes it easier to manage multiple business locations, ensuring consistency of branding across all a business’ profiles and making user access that much simpler.
Here’s how to manage a Google My Business profile for multiple locations.
1. Create a location group
It’s in Google’s best interests to keep the platform simple, which is why you can (and should) control multiple business locations from a business group account — also known as a location group. This account should be registered with your main company email address. Better yet, use a shared business account like admin@twocooks.com.au, and share the login details with the most senior members of staff.
Here’s how to do it:
Click to open the three dash menu in the top left corner, then click Create business account
Click Create location group in the top right corner of the page
Enter a location group/business account name and click Done.
You’ll be prompted to submit business information to populate your profile and verify your account. After you’ve done that, review and accept the Terms and Conditions — and Google will begin verifying your account.
You can set up multiple location groups and categorise your businesses by chain, region or category, for example. Whatever works for your business.
2. Add each business location
To add a new location to your Google My Business profile, follow the below steps.
Open your Google My Business dashboard.
Click to open the Manage Locations tab.
Click the Add Location drop-down tab and select Add Single Location.
Follow the prompts to enter the information for your new business location.
Repeat this process for each location you want to add.

3. Choose your owners and managers wisely
Employees come and go, so it’s important you put your GMB profile’s security in the right hands. When it comes to your profile, there are two types of users: owners and managers. As the owner, you can make changes to key information for the location group or business profile, such as address, phone number, business name and URL. Managers are added by you and cannot update or change this information.
While managers have restricted access, they still have the ability to reply to reviews and publish posts — so it’s important that those you choose to give access to are trusted members of the business. You should also have a procedure in place should that person ever depart the business.
4. Transfer ownership before employees depart
It’s important to make the removal of access a part of the off-boarding plan for every employee. This will prevent the departing employee from being able to sign in to your GMB account and make any changes.
Should you find yourself in a situation where you cannot access a location profile, there are ways and means of regaining control. Perhaps the employee who set up the profile has left the business, taking the logins with them, or someone has simply forgotten the password.
Either way, bringing the location under your business account is as simple as contacting the listing owner via email (through the GMB platform), requesting they assign you as an admin or pass over the ownership rights. Should they fail to reply within seven days, Google has a process in place to override their ownership — simply contact Google’s support team.
5. Use scheduling tools to manage GMB posts
Organic clicks on GMB posts can increase web traffic, boost conversion rates and help your listing rank higher than your competitors. The more active your profile, the more likely it is to enter the Local 3-pack. That means you need to be regularly updating information and publishing new posts to your profile.
As with social media platforms, a number of scheduling tools exist to help maintain an active presence across all location listings. In fact, most tools now offer GMB integration. This allows you to upload content to any listing and create content calendars for each profile, all from the one screen.
Some of the most popular tools that can alleviate multi-location profile management include Sprout Social, Sendible, Social Champ and OneUp.
6. Optimise each listing
The first time a potential customer interacts with your brand is often through your GMB listing, which is why it's critical to optimise your GMB listing for SEO success. Local SEO (Search Engine Optimisation) helps improve your online presence and ensures you appear more frequently in search results for people in your area, making it easier for potential customers to find your business.
Optimising your local SEO helps you to make a stronger first impression than your competitors. Here are some best practise tips:
Ensure your profile is complete with accurate, up to date business details (name, address, phone number and website).
Use targeted keywords naturally in your business description, services and posts. Incorporate location-based keywords (i.e. “Coffee Shop in Melbourne”) to boost local relevance.
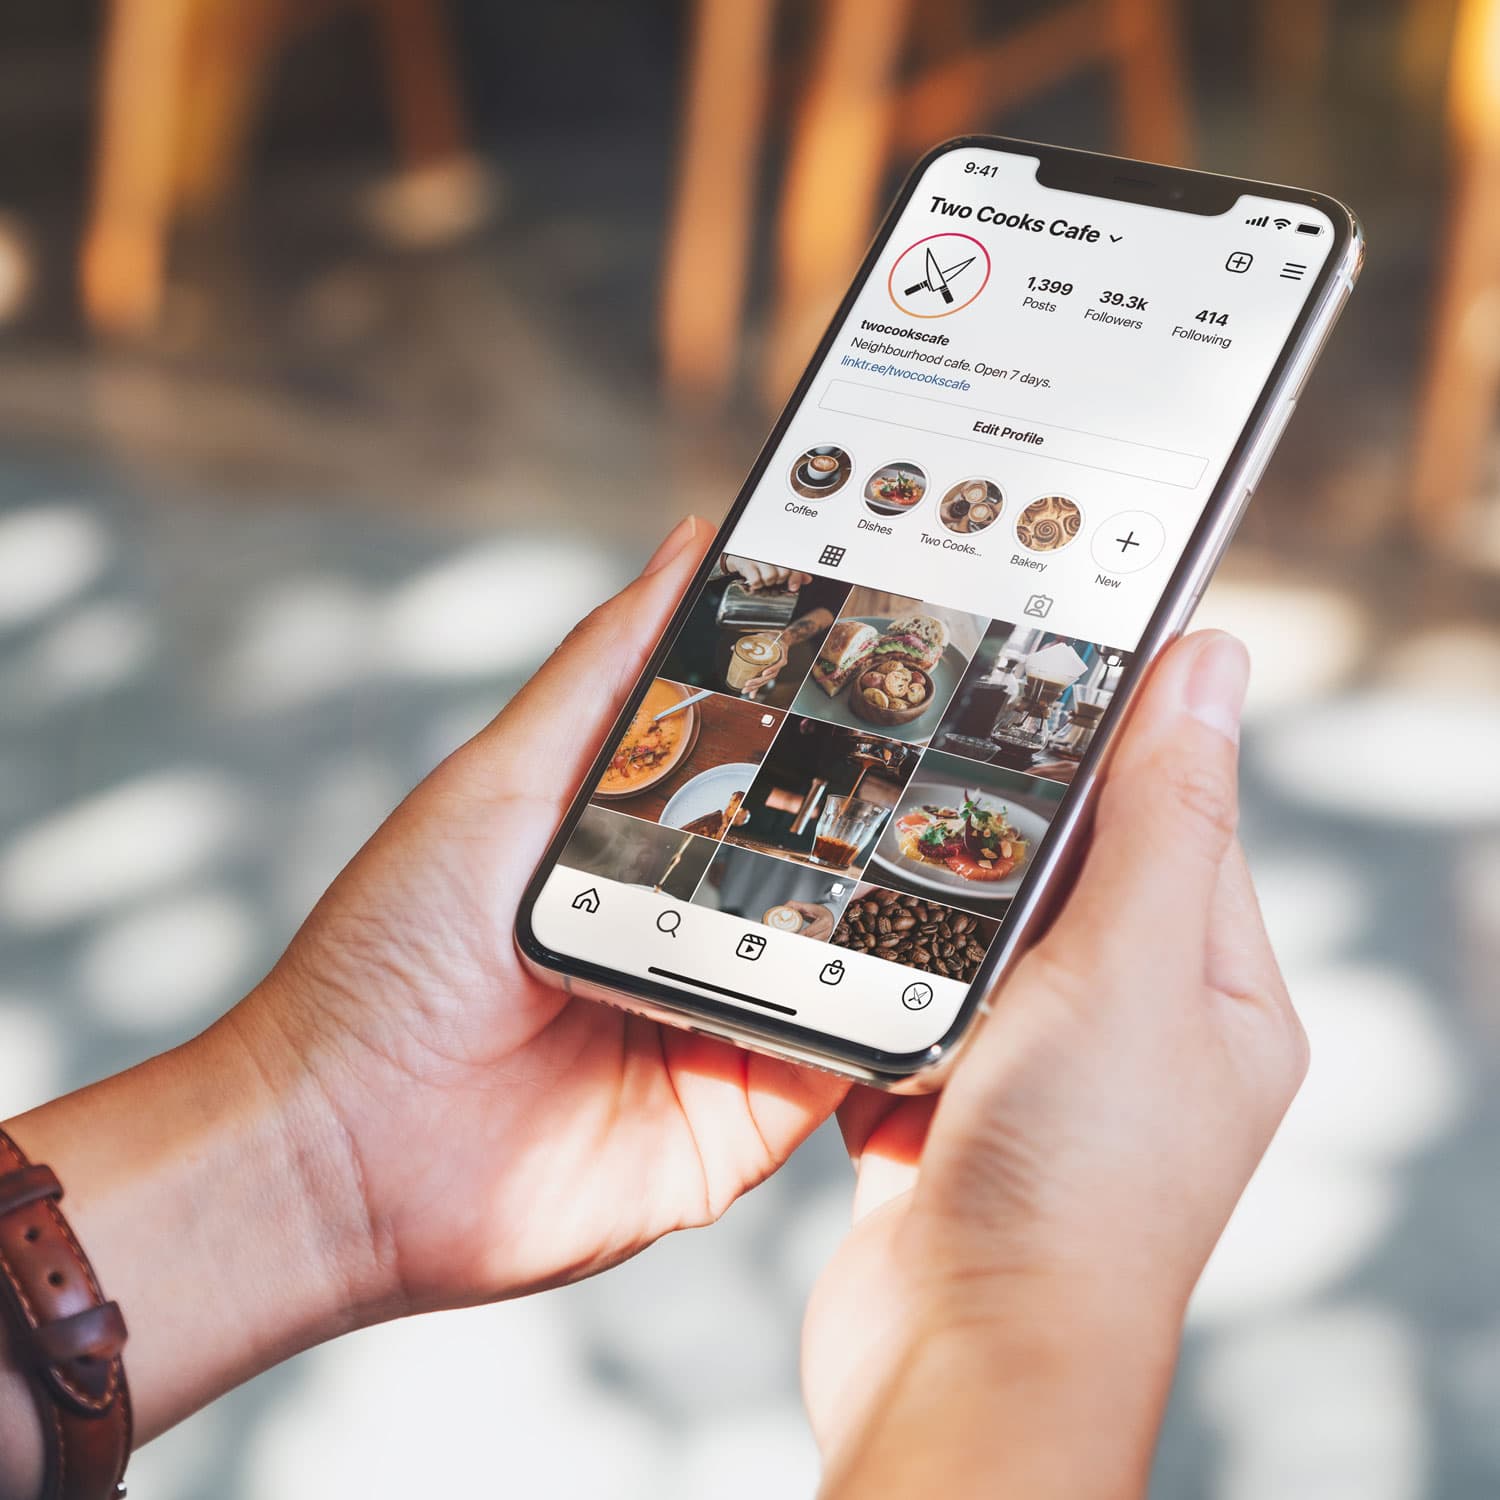
Upload high-quality images of your businesses products and services. To optimise even further, you can also geotag these images.
Encourage customers to leave a positive Google review and respond promptly. An active GMB account with recent reviews provides Google a positive signal.
Add relevant FAQs and provide detailed answers to address common questions your customers may ask.
By optimising your GMB profile, you’ll help to improve the visibility of your site and create a great first impression for potential customers.
7. Encourage reviews on each of your listings
Reviews are a powerful social currency on Google. For many customers, reviews often make the difference between choosing one brand over another. However, it’s not enough to merely amass reviews, though doing so can boost your prominence on Google Maps — you need to know when and how to best respond to them too.
Promptly and professionally engaging with reviews – both good or bad – gives potential customers a taste of the experience they can expect from shopping with you. So, stay positive and professional, regardless of the sentiment of the review.
If the prospect of managing reviews across multiple locations seems overwhelming, rest assured you can sort reviews by location group in the one location. Alternatively, you can also assign location-specific admin the role addressing reviews.
Now that you know how to manage multiple GMB listings under the one profile, keep up with the latest Zeller updates and announcements by subscribing to the Zeller Business Blog newsletter below.
Manage all your business finances with Zeller.
Whether you’re starting up or scaling up, selling face-to-face or online, a sole trader or managing multiple locations, Zeller has a solution for your business. Manage all your business finances, including accounts and cards, EFTPOS and payments, invoicing, expense management and more. Sign up for your free account today.
&w=3840&q=75)